Wrapping Your Hands For Boxing: Why and How in 6 Simple Steps
By: RockBox Fitness
You wouldn’t run a marathon without shoes or deadlift a significant amount of weight without a back brace, right? Specific sports require additional measures of support to effectively prevent injury. In the case of boxing and any martial art that includes striking, wrapping up, and wearing gloves are a necessity.
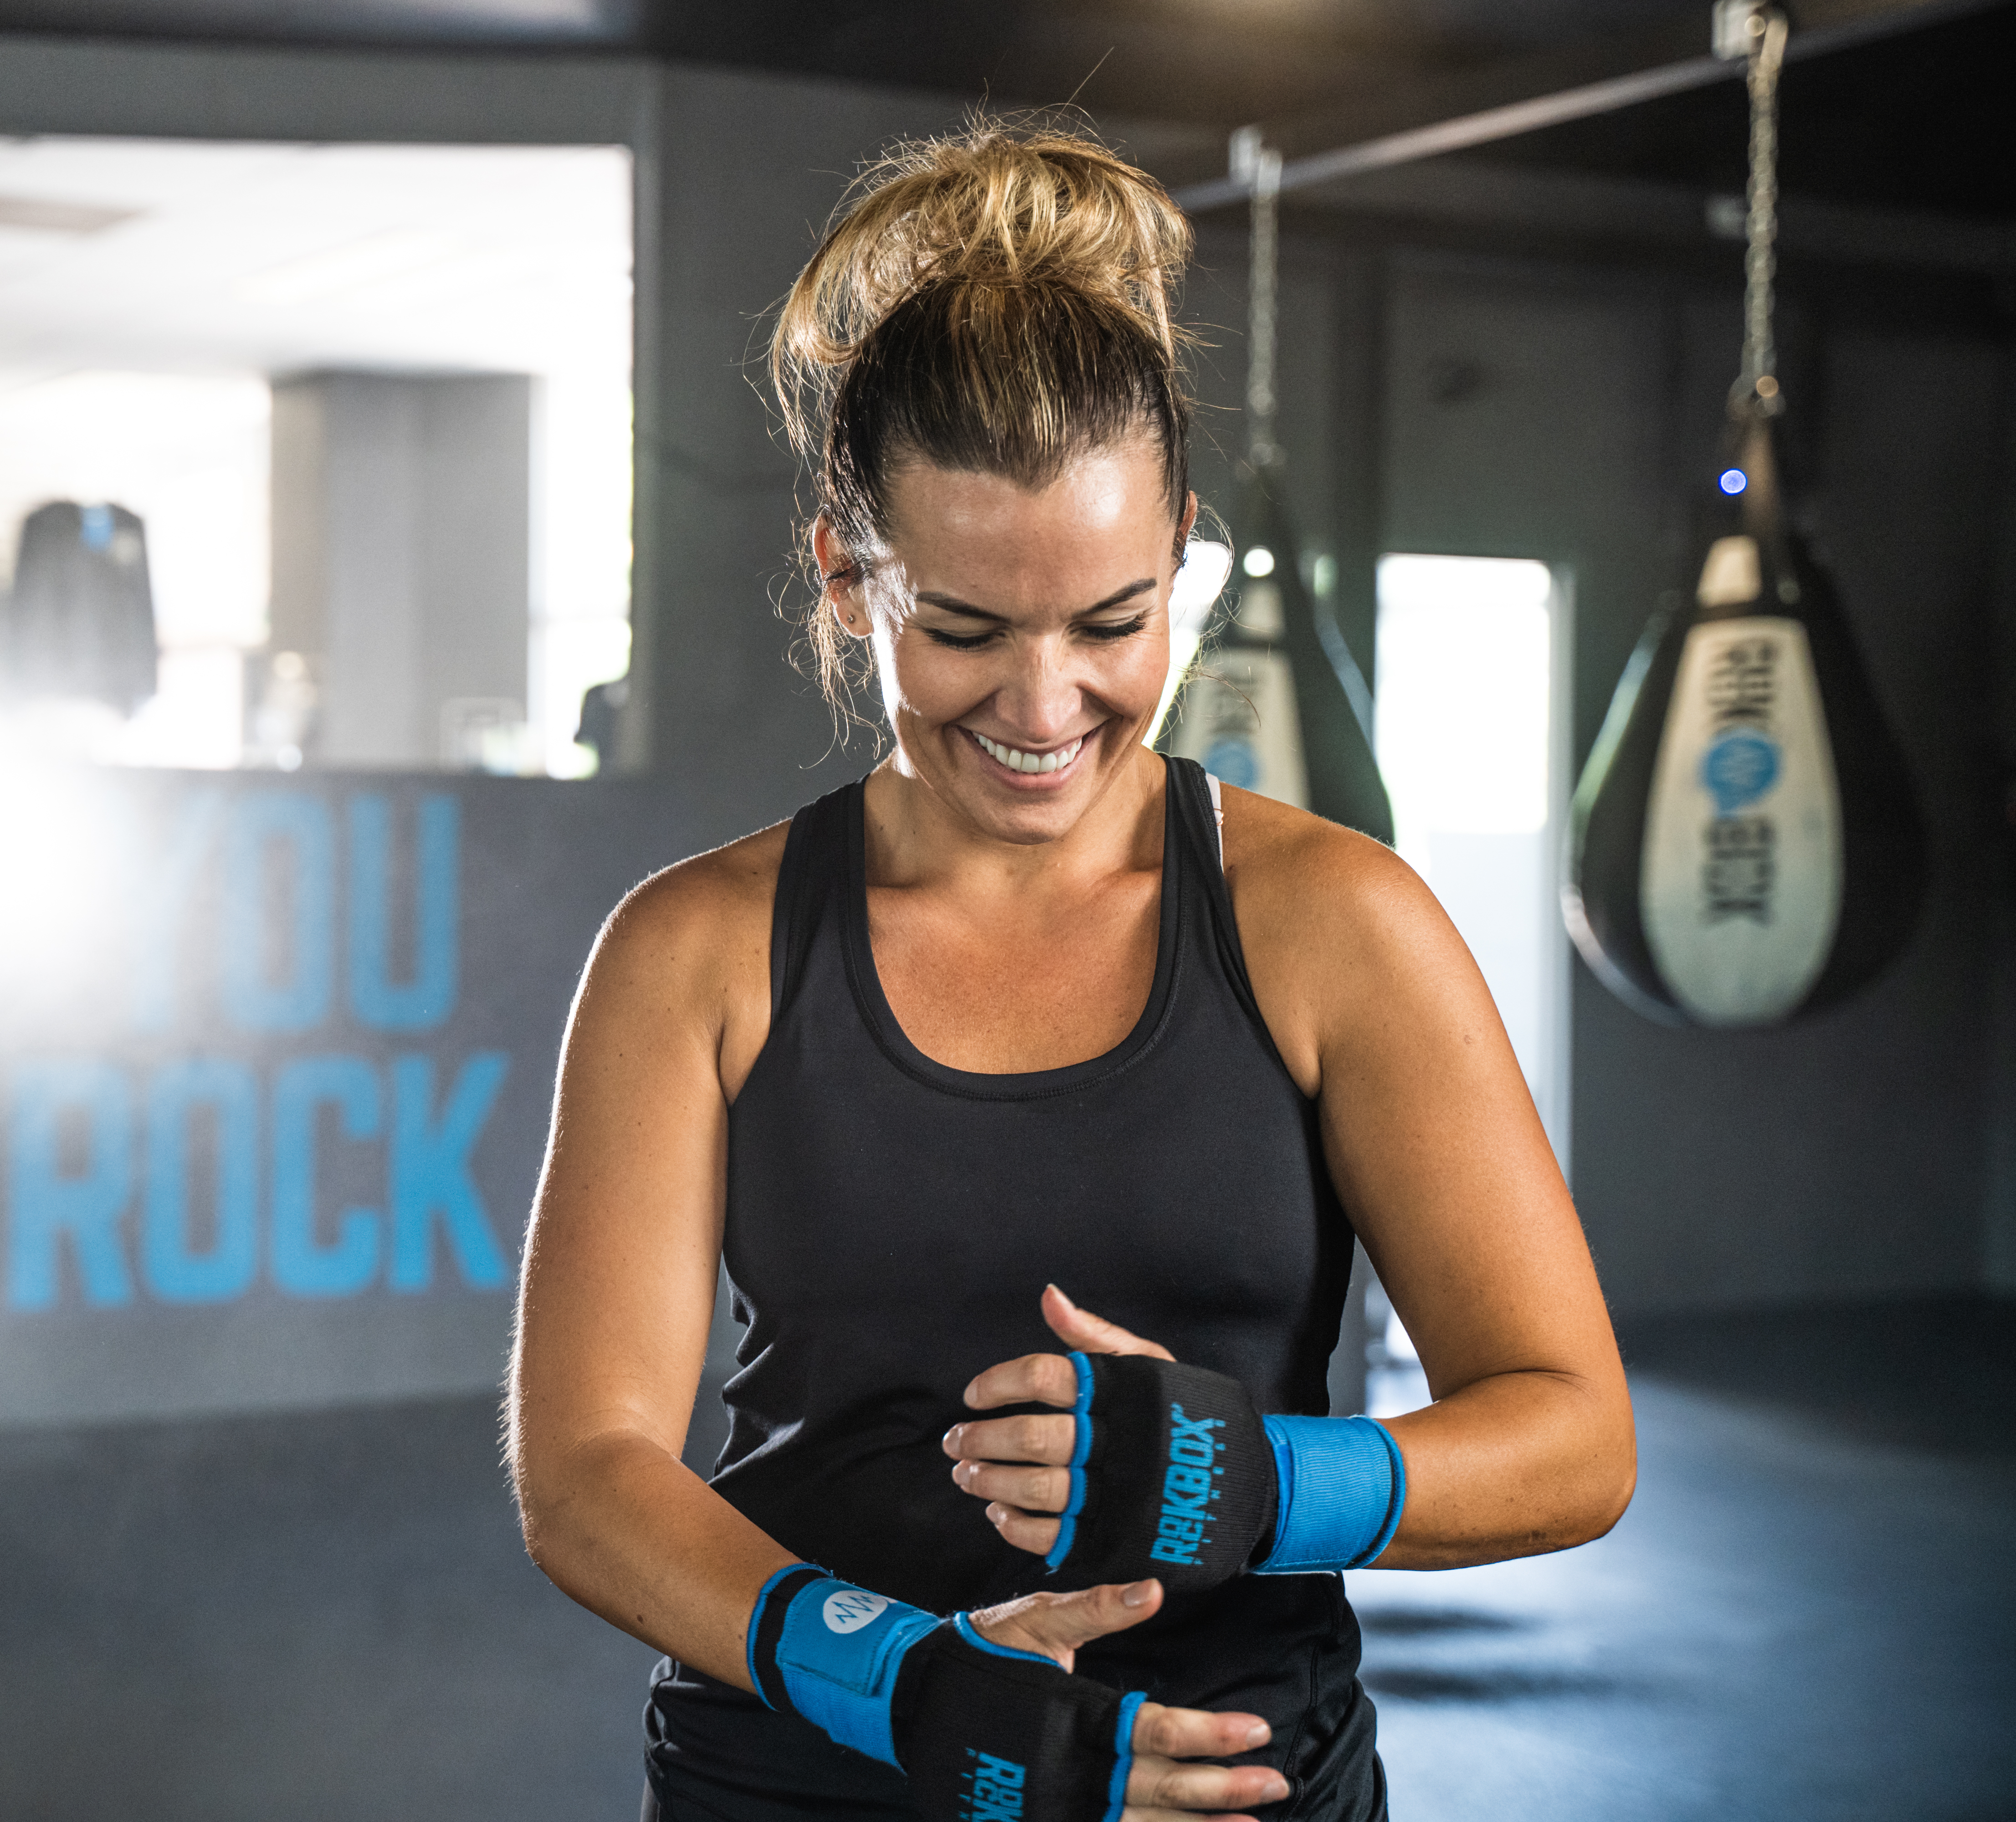
It’s no secret– repetitious hits on a bag can do some serious damage if your hands are not wrapped up properly. Wrapping up before training provides multiple levels of support, from protecting the knuckles to providing stability to the wrist.
In most cases, just wearing gloves is not enough. Wraps create an extra layer of cushion between your hands and the bag, reducing the harsh impact that is typical of throwing a naked punch.
So, how do you wrap up correctly?
Well, it’s kind of like learning to tie your shoes– complicated and frustrating in the beginning, but once you have it down, it is a simple and mindless process.
Follow the 6 steps below to ensure you are wrapping your hands up correctly. Your hands and wrists with thank you!
STEP 1
Unroll your wrap and place the loop at the top of the wrap around your thumb. From here, pull the wrap across the back of your hand (moving toward the outside of your body).
STEP 2
Wrap down your wrist 2 – 3 times and back up your wrist 2 – 3 times for optimal wrist support.
STEP 3
Cross the wrap over the top of your hand to come back around between your thumb and index finger. Wrap across your knuckles 2 – 3 times.
STEP 4
Wrap back across your wrist one time before taking the wrap between each finger. You will begin by wrapping between your pinky and ring finger, moving toward your index finger one finger at a time. Between each finger wrap, wrap back across your wrist to provide more support and to create the proper alignment of the wrap.
STEP 5
Once you wrap between your middle and index finger, you will take the wrap around the wrist and circle it back up to come between the thumb and the index finger. Depending on how long your wraps are, you may need to wrap across your hand and between the two fingers a few more times before finishing out with Step 6.
STEP 6
Take the wrap back down the wrist and secure the velcro at the base of your wrist. Your wrap should feel tight and secure, but should not be cutting off your circulation. Do the same 6 steps on the opposite hand.